The 5 Most Important Questions about Flipping the Classroom with Edtech
 Kate Baker —
“Flipped Learning” gained in popularity during the pandemic. And now that schools are back to in-person learning, teachers can continue to use edtech tools and flipped learning techniques in post-pandemic instruction. This approach provides more flexible and adaptable learning opportunities for all students in and out of the classroom!
In this blog post, we will answer the 5 most important questions about flipping the classroom with edtech:
- What is Flipped Learning?
- What is the goal of Flipped Learning?
- What can I flip in my classroom?
- How do I record and share my own flipped learning videos?
- How can I supercharge my flipped classroom?
What is Flipped Learning?
Let’s take a closer look at what Flipped Learning is and isn’t.
❌ Flipped Learning does NOT replace the teacher with video.
❌ Flipped Learning is NOT about boring students with long videos.
❌ Flipped Learning is NOT a fad.
The Flipped Learning Network, a grassroots community founded by flipped learning pioneers Aaron Sams and Jon Bergmann, created a comprehensive definition to counter misconceptions of flipped learning.
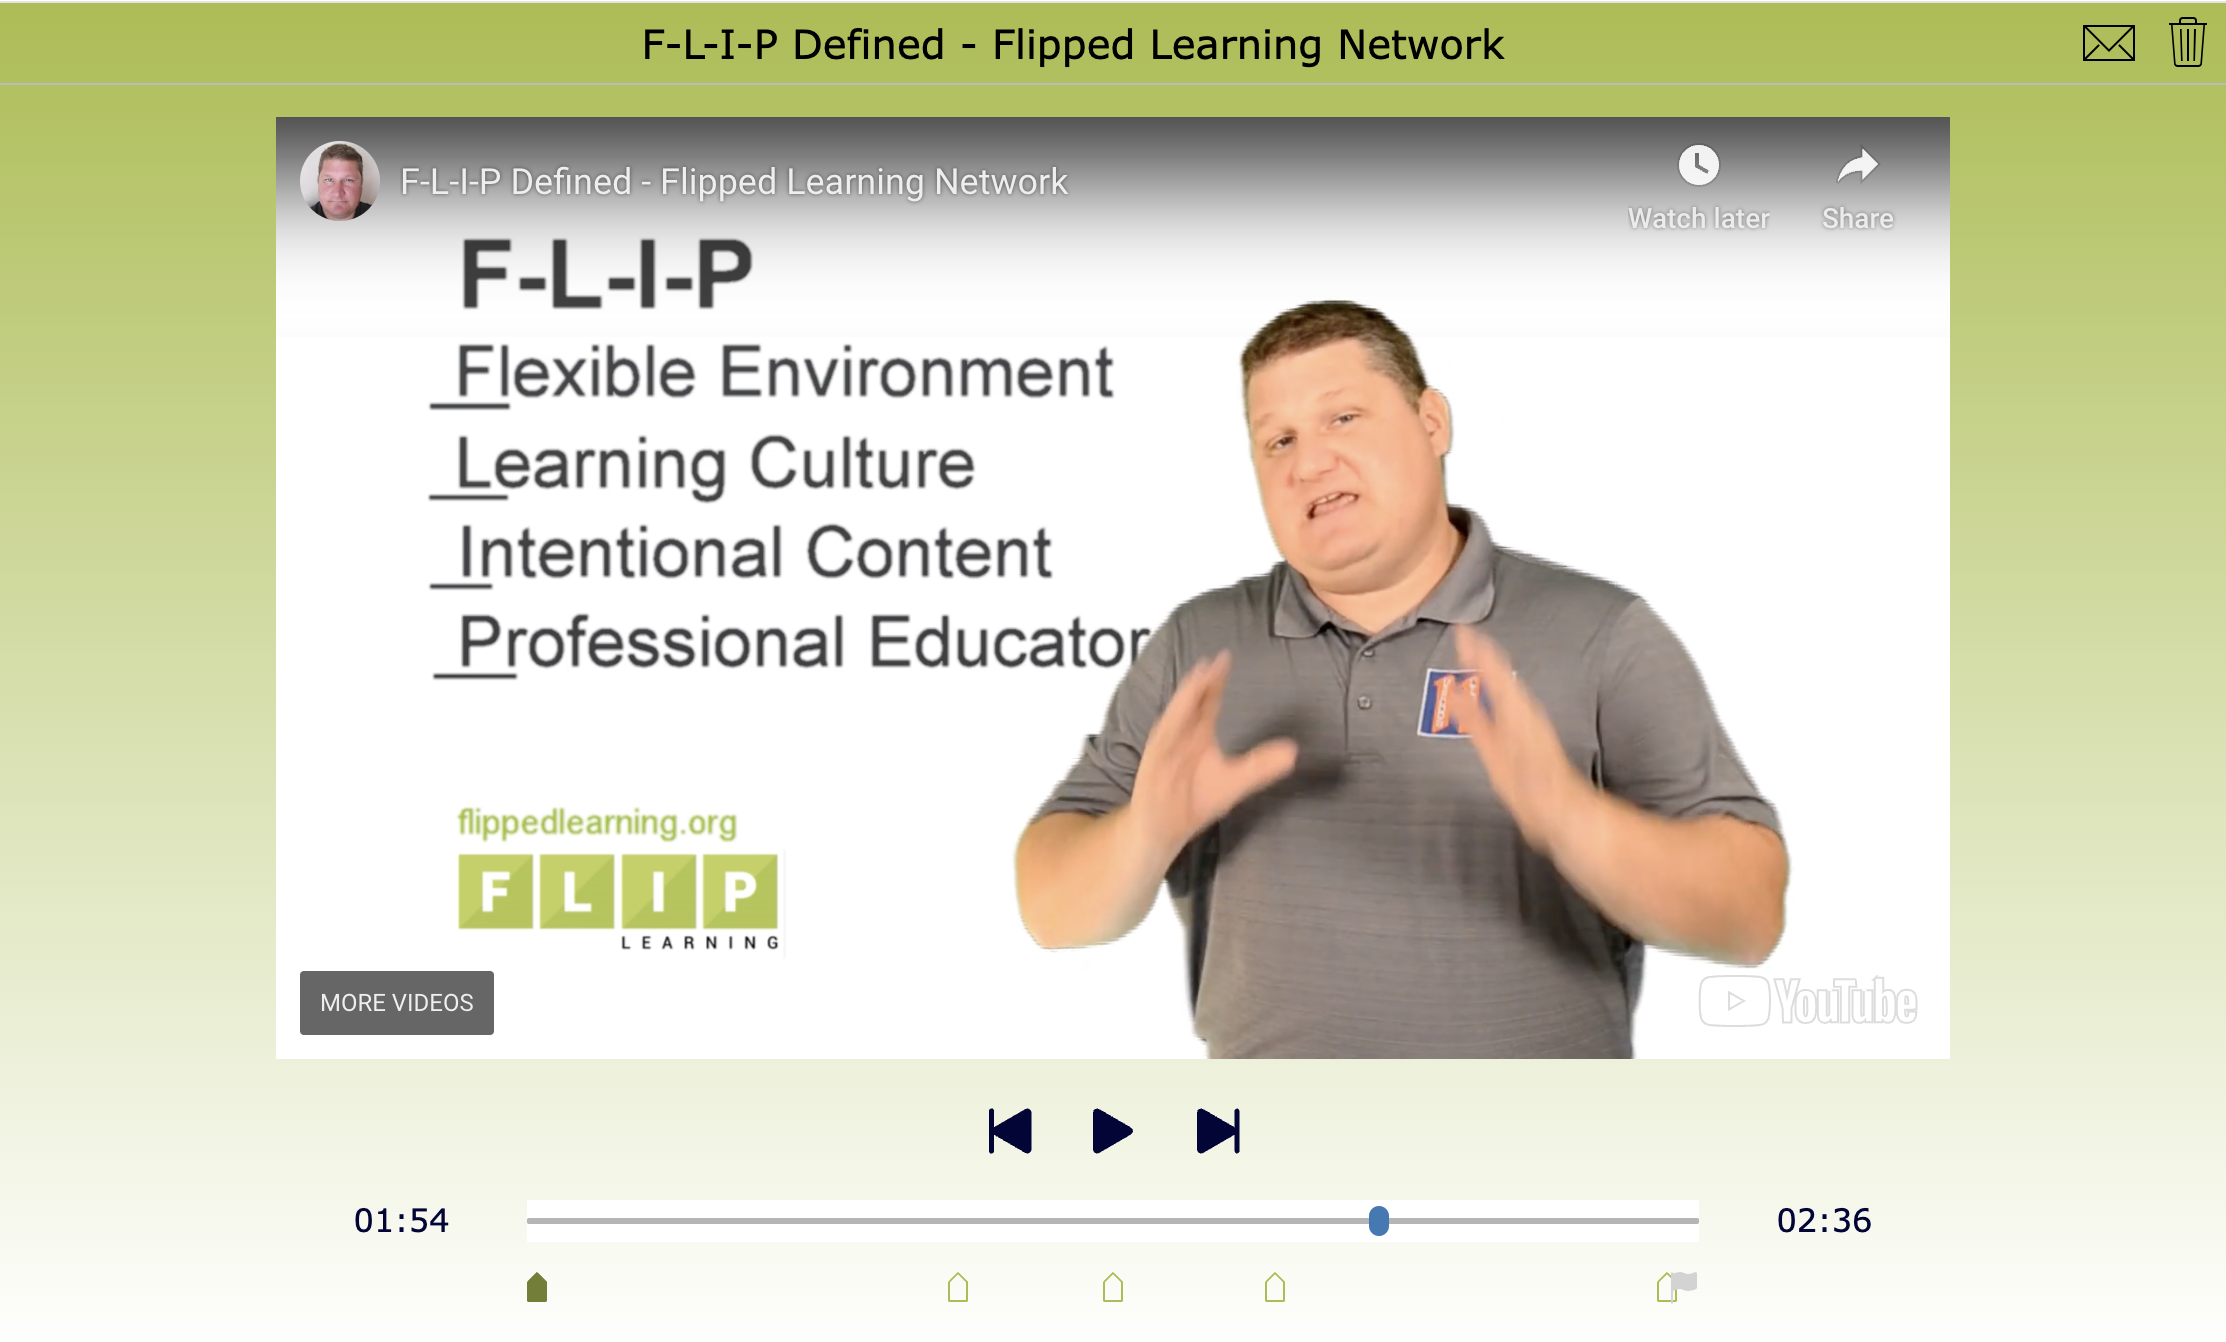
According to the Flipped Learning Network (FLN), Flipped Learning is “a pedagogical approach in which direct instruction moves from the group learning space to the individual learning space, and the resulting group space is transformed into a dynamic, interactive learning environment where the educator guides students as they apply concepts and engage creatively in the subject matter.” To help unpack this definition, the FLN has also identified the 4 Pillars of Flipped Learning:
- Flexible Environment: Teachers design instructional activities that vary in complexity and modality, allowing students to work collaboratively and independently in any learning environment.
- Learning Culture: Teachers focus on a learner-centered approach where students are actively involved in knowledge constitution via rich learning opportunities
- Intentional Content: Lesson materials with a clear goal help students develop conceptual understanding and procedural fluency
- Professional Educator: Teachers are still the cornerstone of the classroom facilitating the learning process and reflecting on their practice to make adjustments for students.
👉 Did you notice the first letter of each pillar spells FLIP? 😉
Learn more about the Four Pillars of Flipped Learning in this Video Quiz lesson I’ve created featuring Matt Moore, from the Flipped Learning Network. I used a BookWidgets’ Video Quiz to create this flipped professional learning lesson for you.
That’s right! Flipped video lessons can be for classroom instruction AND professional development! I’m looking at you, PD providers! 🤓
What is the goal of Flipped Learning?
The goal of Flipped Learning is to make the best use of face to face time with students and colleagues by…
✅ Empowering people to learn at their own pace
✅ Making class time for problem-solving, discussion, and project-based learning
✅ Curating and reusing content for ongoing, personalized instruction
✅ Providing opportunities for meaningful, individualized instruction and timely feedback
If you want to shift from being a “sage on the stage” to a “guide on the side” where instruction is learner-centered, then flipped learning is for you! 🙌
What can I flip?
 Being intentional with your instructional content is an important aspect of Flipped Learning. You aren’t creating videos so that you can sit at your desk and read the newspaper while students are viewing the flipped lesson. And we certainly aren’t replacing “death by powerpoint” with “death by video” for professional development!
When creating content for flipped learning for the classroom and professional development, educators should…
✅ Align the lesson with learning objectives and desired outcomes
✅ Ensure that the content is accessible to all viewers by providing closed captioning for videos or transcripts of audio recordings
✅ Plan follow-up activities where viewers will apply what they learned while watching
Check out these examples of flipped lessons created by Bookwidgets’ users. 👇
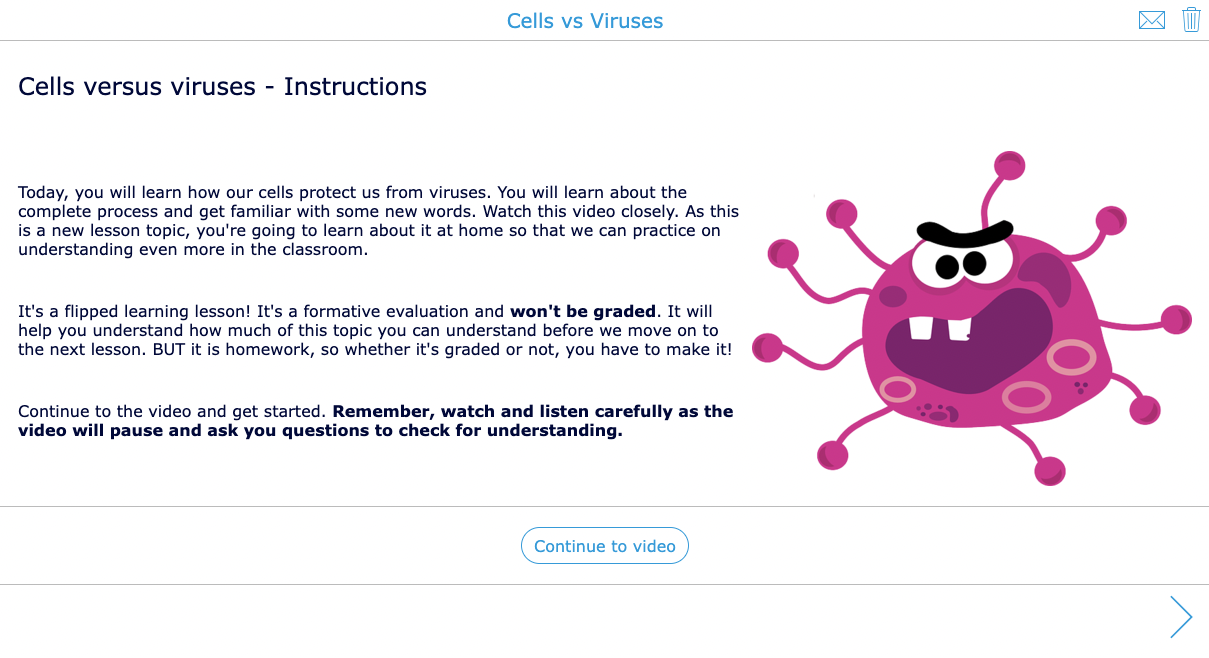
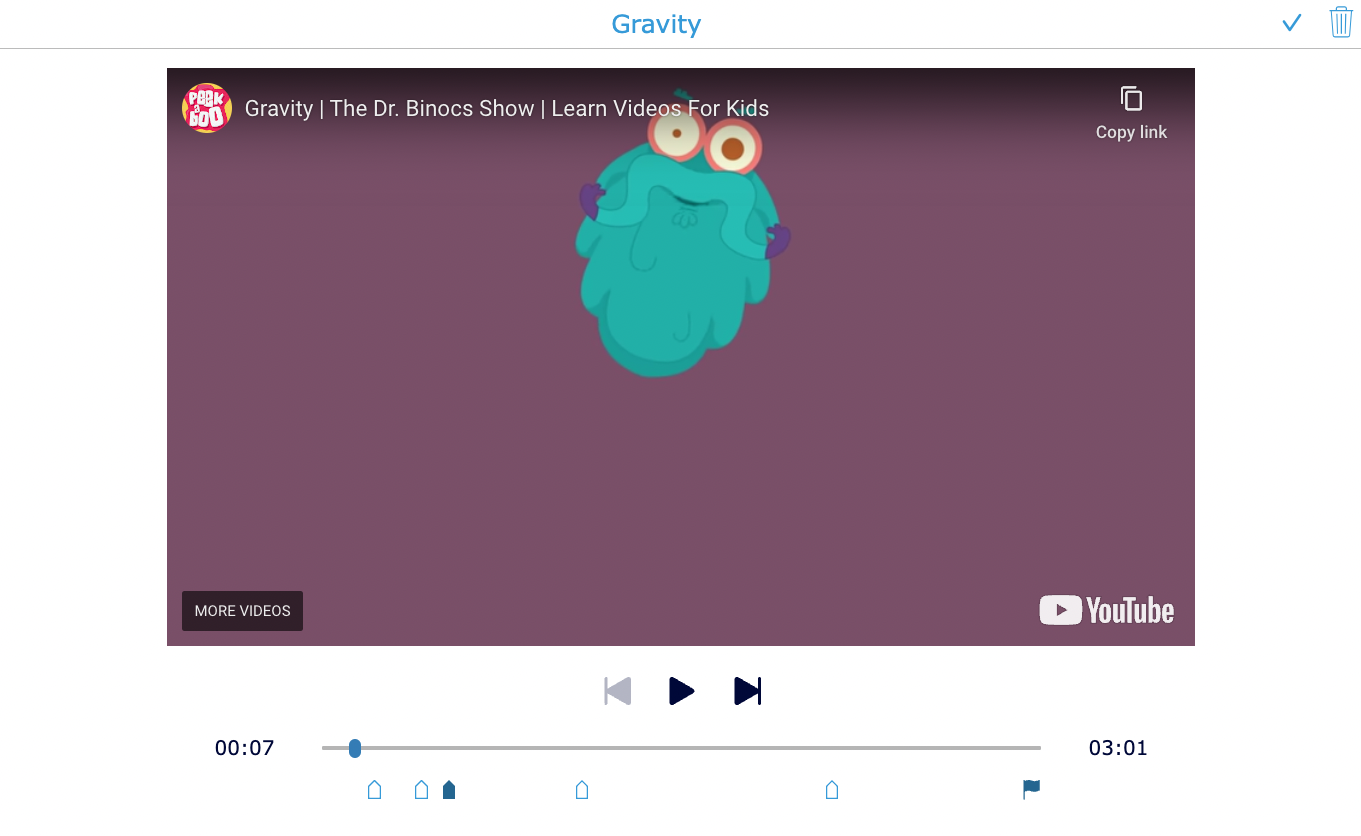
👇 Here’s an example for science class 👇
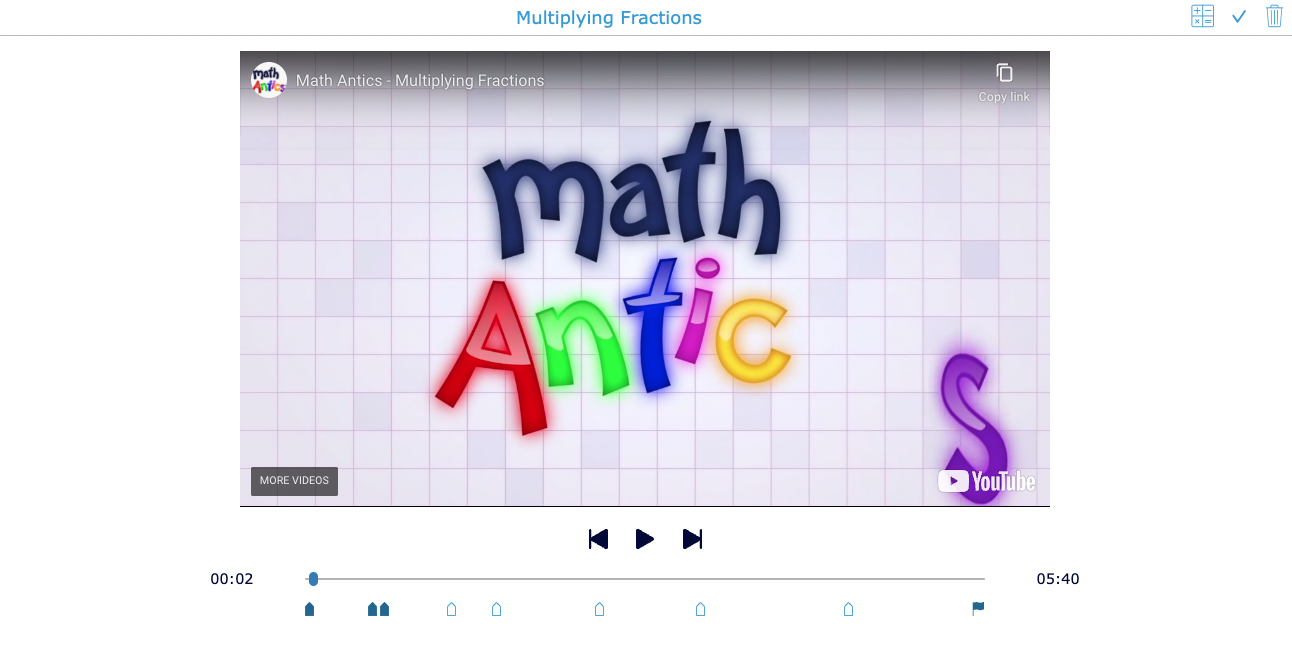
👇 Here’s an example of a Video Quiz about multiplying fractions 👇
Start Small!
 Flipping your entire curriculum all at once can be overwhelming, so it’s important to start small and gradually build up. You might begin by flipping one lesson or unit, and then expand from there as you become more comfortable with the approach.
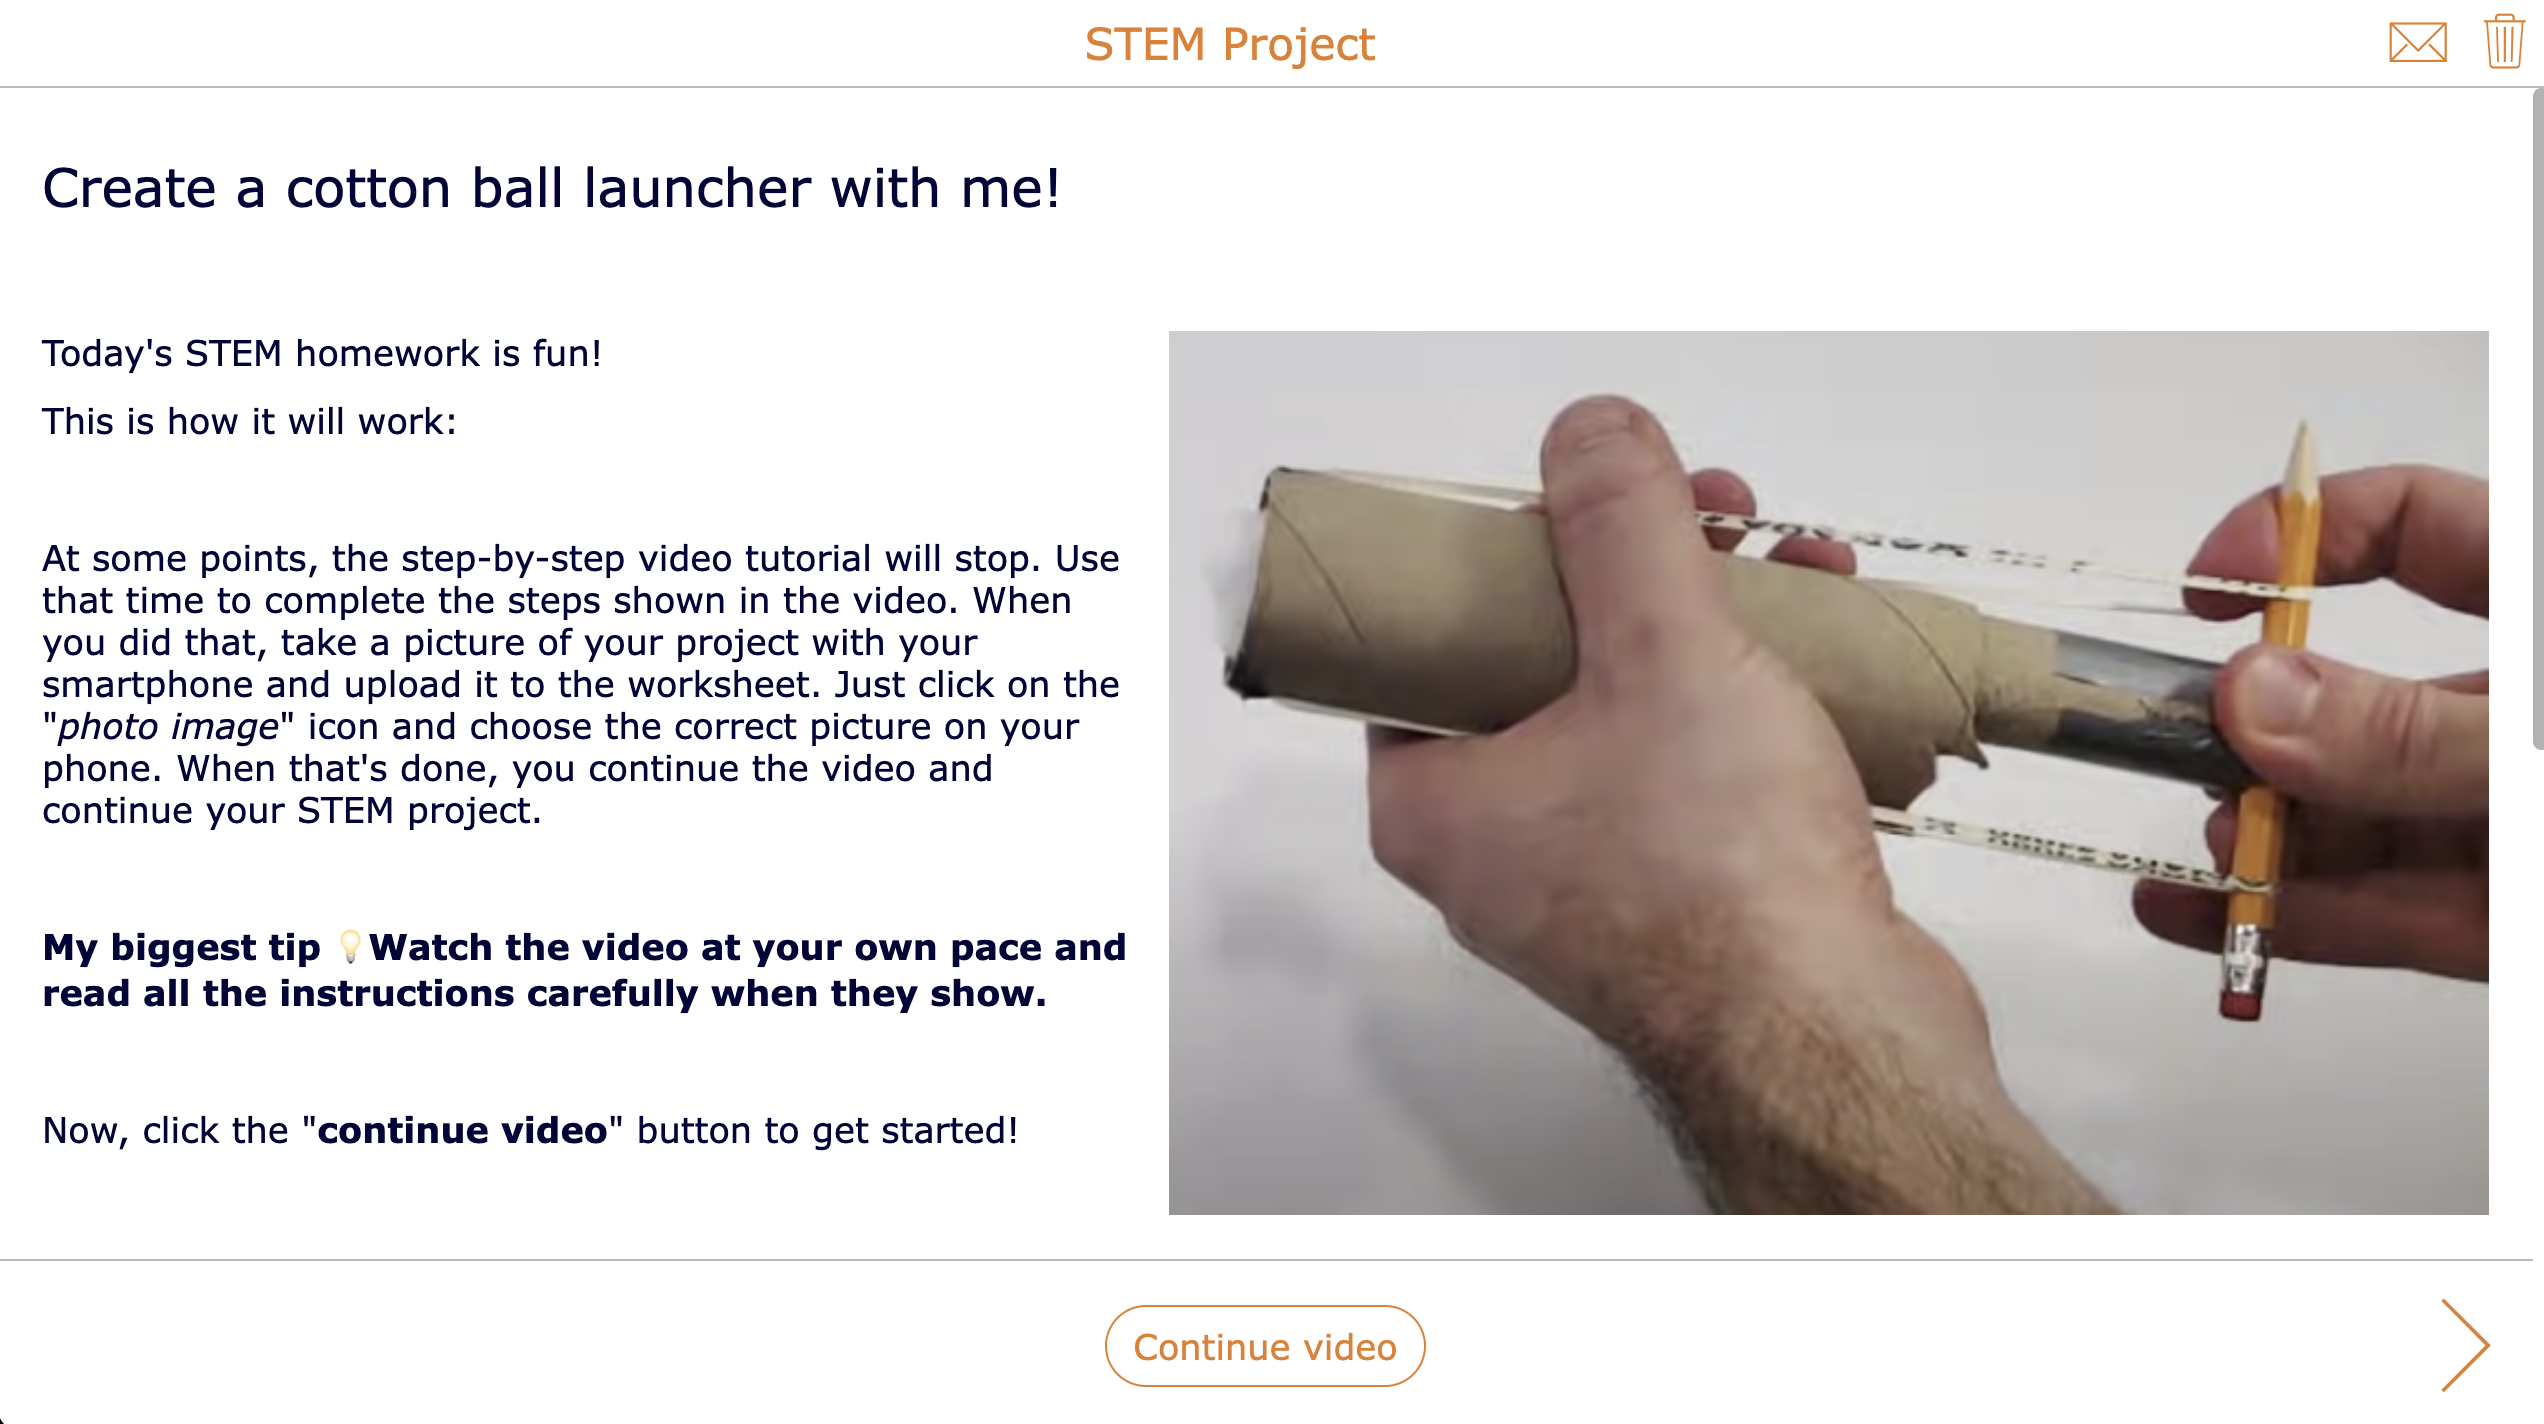
Think about what you are tired of repeating to students and turn it into a video! It could be step-by-step instructions for a project such as this one.👇
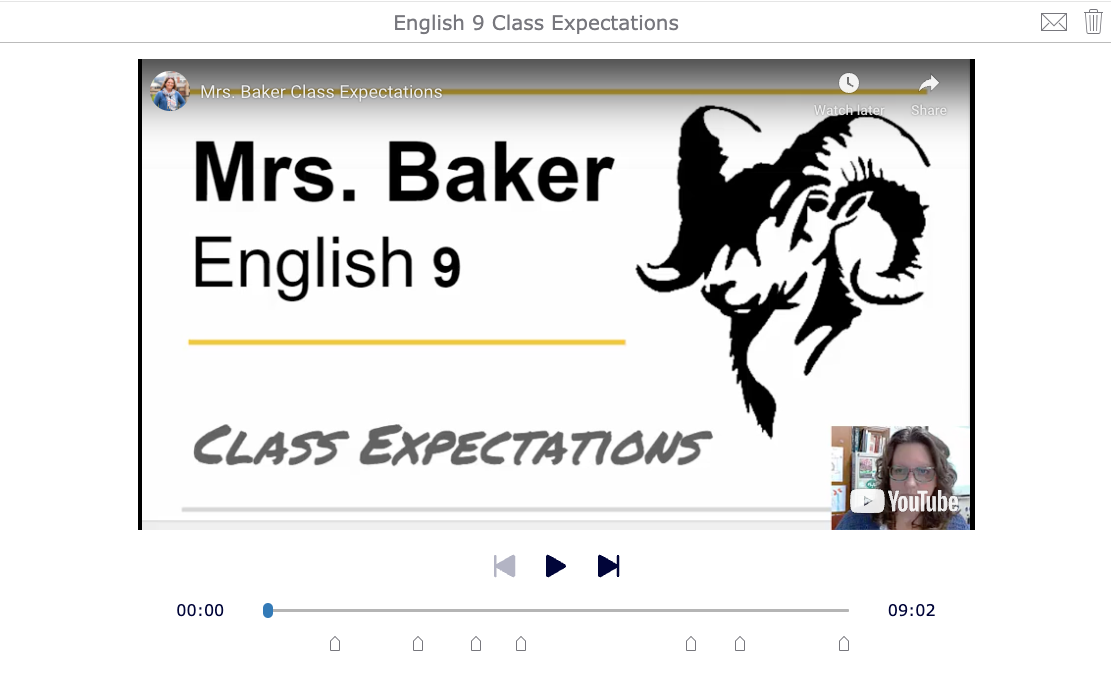
Another great way to begin is by flipping your Class Expectations. Students can practice watching videos for information while also acquiring knowledge of classroom procedures. This is also a great way to include students’ families and get everyone on board at the beginning of the school year.
Check out this video lesson I created to flip my class expectations at the beginning of a new school year.👇
How do I Record My Own Flipped Videos?
 You don’t need to be a Hollywood cinematographer to create your own videos for flipped lessons, but there are some ways that you can work smarter, not harder on a limited budget.
Tools such as Screencastify, Screencast O’matic, Loom offer free versions for screen recording, and you can even use the record and share screen features in Google Meet, Microsoft Teams, or Zoom to film a flipped learning video.
Here are 6 steps for recording your own flipped learning video:
1️⃣ Determine your lesson content. Chunk material. Short videos in a series are easier to record and deliver than long lectures.
💡Pro Tip: A good rule of thumb is to record 1 minute of video per grade-level of your audience. So if you teach 5th graders, for example, keep your video under 5 minutes. If you have 30 minutes of content to record, then divide it into six, 5-minute chunks to create a series!
2️⃣ Gather your visual elements and draft up a script or storyboard. Upload images of paper products or set up a document camera to film paper-based materials. Open documents, slides, or web pages, and close unnecessary programs/pages if recording a screencast. Be sure to create a title slide for the screencast that you will show at the very beginning. This will also become your thumbnail image when you upload to YouTube.
💡Pro Tip: If using slides for your visuals, make sure your webcam video doesn’t cover important information on the slides. Adjust your slide design so that you have an area where the webcam video will appear.
3️⃣ Set up recording space. Film in a quiet area or use an external microphone that minimizes background noise. Make sure you have good lighting if using the webcam by facing a window and turning on lights in front of you. Feel free to include silly props to add visual interest.
4️⃣ Record the screencast with your chosen tool. Begin the screencast with your title slide then switch to your other visuals. At the end of the video, you can return to the title slide or conclude with a closing slide that thanks your audience for viewing. Keep in mind this may require multiple takes. A 5 minute video may take you 30 minutes to record if you run into issues.
💡Pro Tip: As you record, strategically pause at the end of important sections of information. You’ll thank me later for this tip!
5️⃣ OPTIONAL: Edit the recording. Editing can be a time consuming process, so try to avoid needing to do any post-production editing of the recording. Remember: we are not Hollywood cinematographers, special effects are not necessary!
6️⃣ Publish the video to your YouTube channel. If you haven’t created your own YouTube channel, you should do so ASAP. This will give you a dedicated location to save your videos. It is super easy to share your video on other platforms with a YouTube link! You can also ensure that only your students are your audience by setting the viewing permissions to “unlisted”.
4 Easy Steps to Flip a Lesson
 After you have recorded your flipped video, the next step is to transform it into a flipped video lesson.
If you already are using BookWidgets inside a learning management system (LMS) such as Google Classroom, Microsoft Teams, Schoology, Canvas, Moodle, Blackboard, itslearning, etc. then you can seamlessly integrate flipped lessons into your instructional design for the classroom and professional development.
Use BookWidgets to flip a single lesson in 4 easy steps:
- Record a video following the steps above or locate the already-created YouTube content to use for the “flip”.
- Add the video and other content to a Quiz, Worksheet, Split Worksheet, or Video Quiz widget (to name just a few) and insert questions from the 35 question-types available in BookWidgets to check for understanding. Remember those strategic pauses? This is where you will insert those question points in the video!
- Deliver the flipped lesson to your audience by posting it as an assignment in your LMS. Students can complete the lesson synchronously in class or at home for homework, and educators can complete it for professional development.
- Monitor the data from the lesson and provide timely feedback to students on their performance. Using the auto-feedback feature in BookWidgets will save you time and keep students informed, as well as inform you on what lessons to create next!
To create your own flipped video quiz in BookWidgets, watch this tutorial:
Look here for tutorials about the Video Quiz widget in Dutch and French.
4 Additional Tips for Getting Started with Flipped Learning
To ensure your success with implementing flipped learning, here are 4 additional tips for getting started.
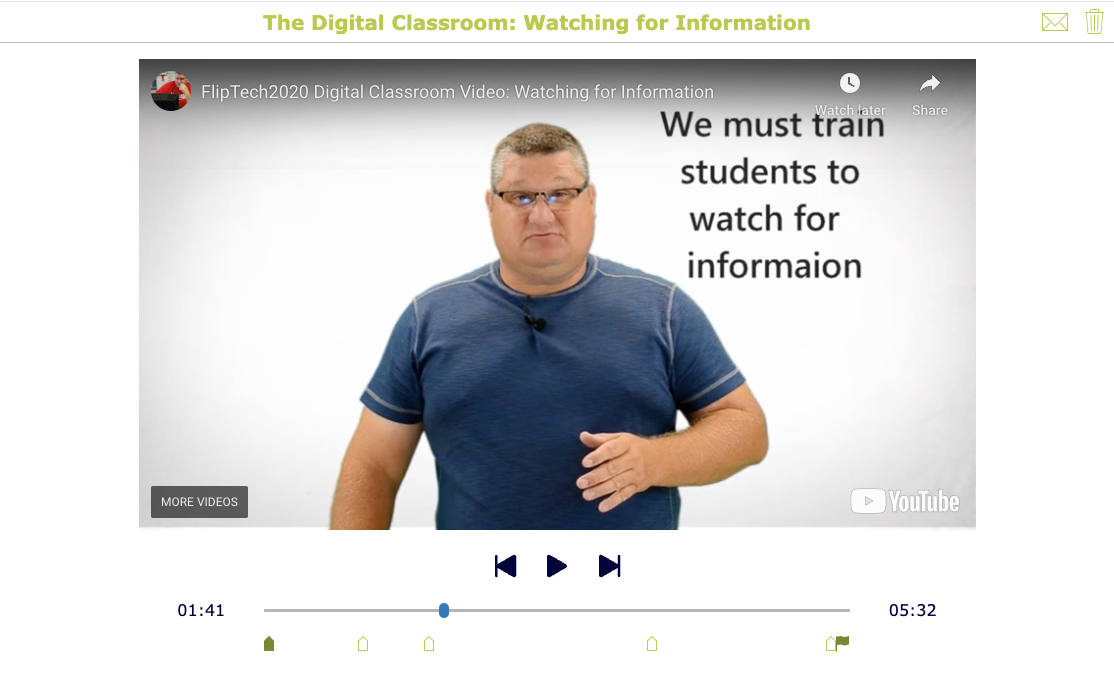
1️⃣ Train Your Students to Watch/Read for Information: Students most often watch videos for entertainment, but in a flipped classroom, watching and reading for information is a vital part of acquiring new knowledge. Teachers can set students up for success by empowering them to utilize the video controls so that they can pause, rewind, and rewatch the video as needed.
Learn more about the value of training your students in this flipped video lesson from Matt Moore of the Flipped Learning Network.👇
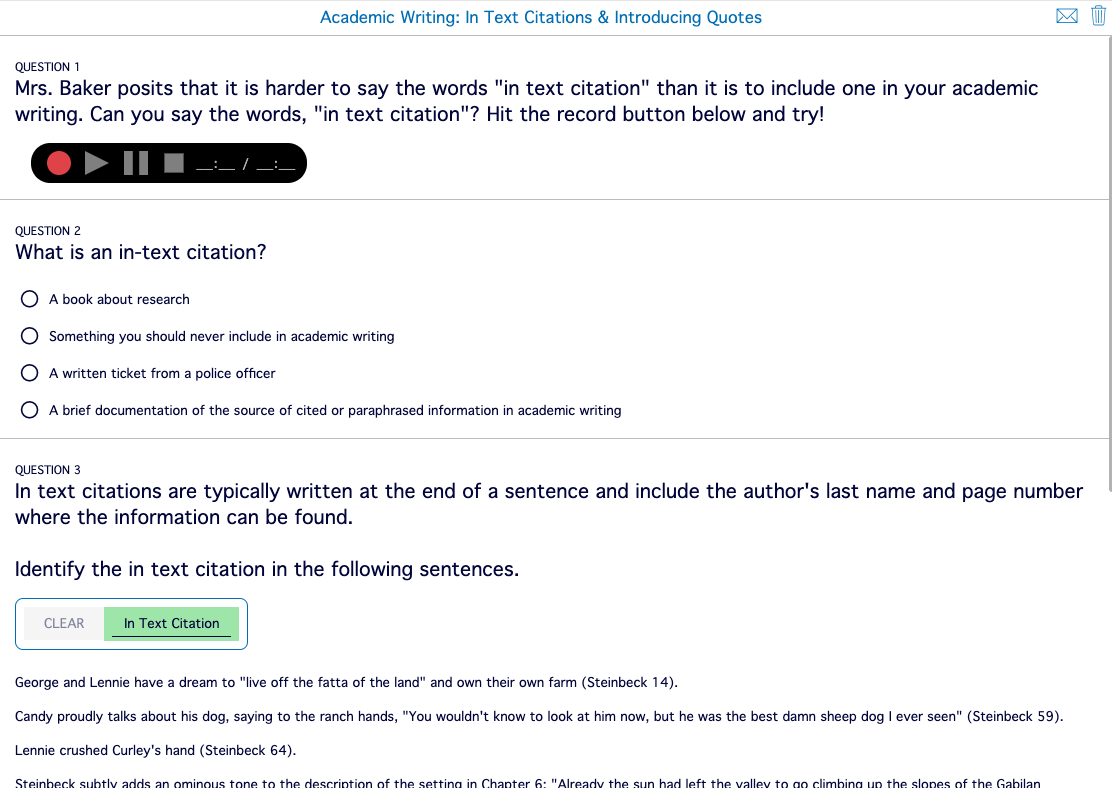
2️⃣ Plan for the post-flip part of the lesson: While it’s important to have students engage with new material at the start of the lesson or before coming to class, it’s also important to have a plan for what they’ll do with that knowledge once they arrive. Make sure you have interactive activities and discussions planned that will allow students to think critically, apply the new knowledge, and deepen their understanding of the material. With over 40 different template types, BookWidgets can easily become the interactive hub of your flipped classroom for creating interactive and engaging activities to follow up a flipped video lesson.
This particular flipped video lesson reviews how to quote and cite a text and prepares students to apply what they’ve learned during an in-class writing assignment. Various question types are used throughout the video lesson to allow students to demonstrate their understanding. And as an extra bonus, I’ve included some writing samples generated by ChatGPT!👇
3️⃣ Get your students involved: Flipped learning is all about student-centered instruction, so it’s important to involve your students in the process. Have them give feedback on the materials you’re using and the activities you’re designing, and ask for their input on how they prefer to learn. You can even empower them to create their own instructional videos for class! Talk about being a (Movie) Star Student! ⭐
4️⃣ Be flexible: Flipped learning isn’t a one-size-fits-all approach, and it’s important to be open to adapting and adjusting your approach as you go. What works for one class may not work for another, so be willing to try new things and see what works best for you and your students– by duplicating widgets and importing questions in BookWidgets, you can adapt lessons in a snap! 💥
👉 To connect with other educators and learn more techniques for Flipped Learning, stop by the Flipped Learning Network and browse articles for specific content areas.
How can I supercharge my flipped classroom?
 So you’ve mastered the flip, now what? If you have already been flipping your classes and want to kick things into high gear, then Flipped Mastery Learning may be for you!
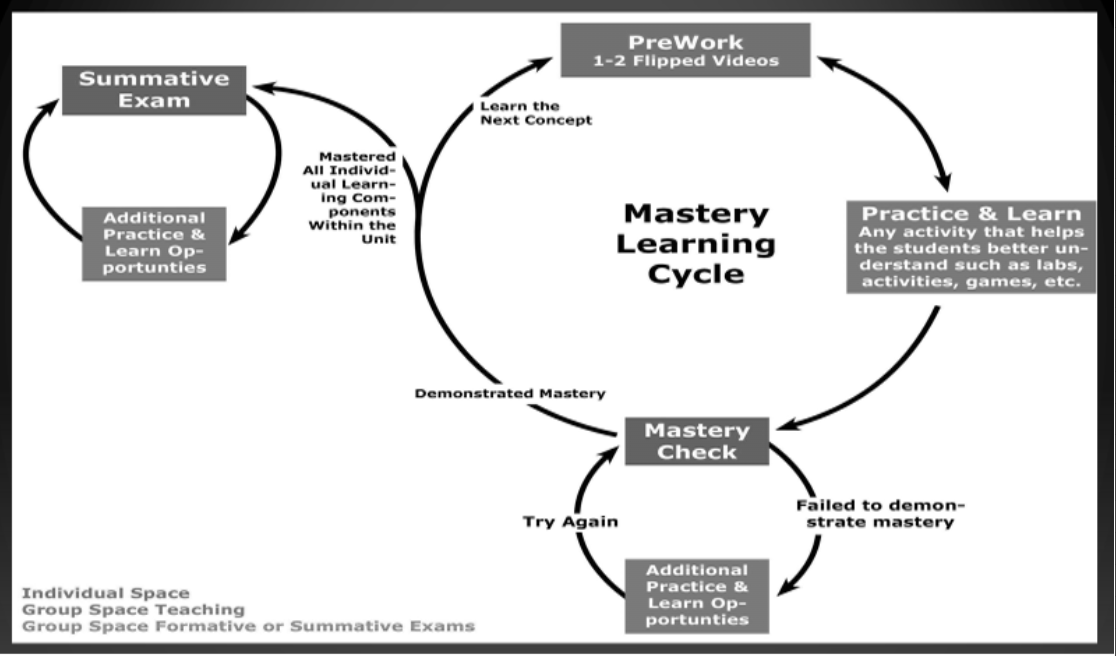
Flipped Mastery Learning supercharges the flipped classroom. Mastery learning, pioneered by Jon Bergmann, a co-founder of the Flipped Learning Global Initiative, is a cyclical model that empowers students to learn at a flexible pace, mastering specific skills or concepts before moving on to the next cycle of learning.
Just as with flipped learning, direct instruction is via interactive videos or reading, and students apply what they have learned to additional activities, but in the mastery model, the entire unit or course is sequenced and delivered to students to complete within a specified time frame.
Flipped Mastery Learning requires the teacher to…
✅ Have all learning activities and assessments planned and packaged before the unit or course begins.
✅ Monitor student progress daily as they work through the coursework in a self-paced manner.
✅ Meet with individuals or groups of students to provide feedback and next steps.
To learn more about the Flipped Mastery Learning Cycle click on the components in this HotSpot widget I created using a diagram from Dr. Cara Johnson, author of Flipping 3.0 Flipped Mastery Learning Cycle: An insanely Simple Guide.
BookWidgets and Flipped Mastery
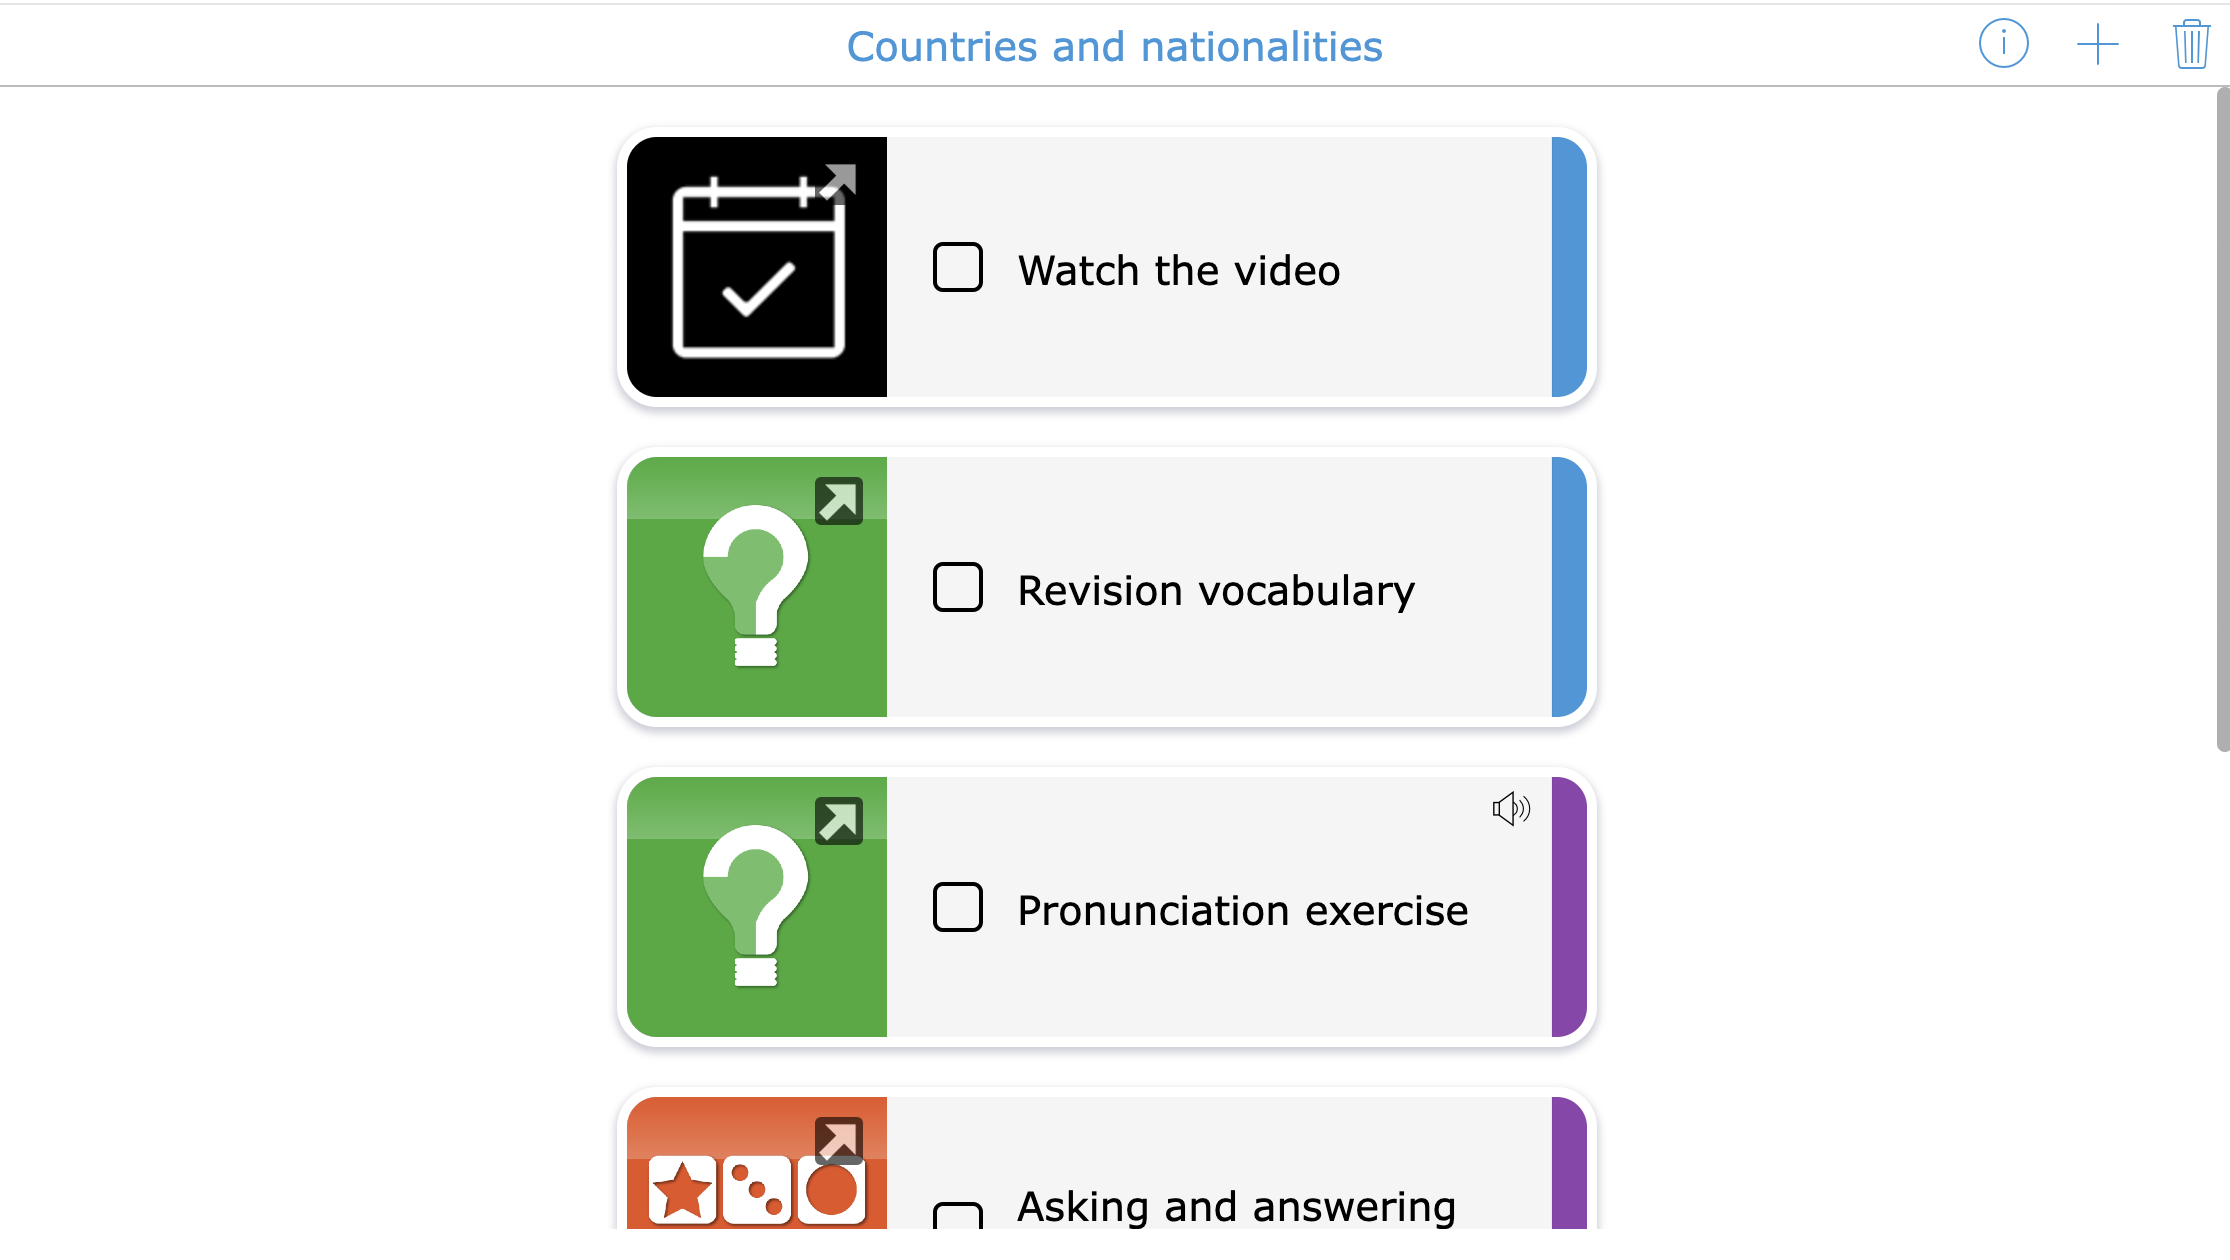
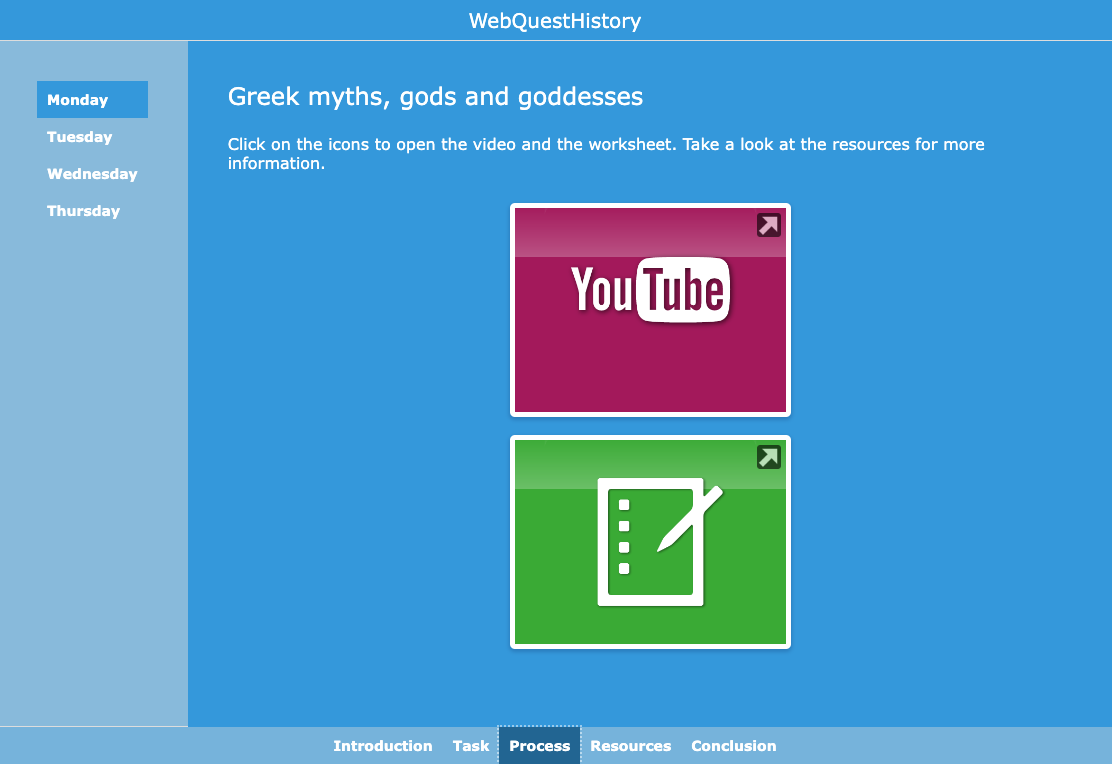
 Using the Planner or WebQuest widgets, teachers can organize all activities and assessments for a unit of instruction in one location and easily deliver it to students. Teachers can customize the feedback and correction options in BookWidgets to align with formative assessments within the Flipped Mastery Learning Cycle.
In this Planner, students learn about countries and nationalities and complete various tasks to demonstrate their understanding. 👇
In this WebQuest, students navigate through resources and assessments to learn about the world of the Greek Gods. 👇
👉 Interested in learning more about BookWidgets and connecting with other teachers? Join the BookWidgets Facebook community!
Wrap Up
 By answering these 5 important questions, we can see that Flipped Learning is so much more than recording and viewing videos!
- What is Flipped Learning?
- What is the goal of Flipped Learning?
- What can I flip in my classroom?
- How do I record and share my own flipped learning videos?
- How can I supercharge my flipped classroom?
As a professional educator, you can focus your flipped classroom using technology, such as BookWidgets, to make the best use of your face to face time with your students.
Have more questions about Flipped Learning and BookWidgets?
✔️ Connect with the Flipped Learning Network on Twitter and Facebook!
✔️ Follow BookWidgets on Twitter and LinkedIn and join our teacher community on Facebook!
✔️ And, be sure to connect with me, too, on Twitter, Facebook, and LinkedIn! 👋


