How to create interactive BookWidgets activities using the new Microsoft Teams Apps in Assignments
 Lucie Renard —
At BookWidgets, we believe that education can move forward if we all put our shoulders to the wheel. More and more educational tool suppliers share the same vision. It’s not about reinventing the wheel, but making it survive road bumps and go longer distances.
That’s why Microsoft Teams for Education just released a new, better, and faster way to share digital assignments with students. With “Apps in Assignments”, teachers can now attach digital resources from integrated applications like BookWidgets with just a few clicks.
“The new support for Apps in Assignments transforms Microsoft Teams for education to a complete digital classroom as every integrated app adds even more value for teachers and students.” - Leif Brenne, Principal Program Manager, Microsoft Education
Where to find “Apps in Assignments” in Teams
The way to Apps in Assignments is pretty straightforward:
- Choose a Team in which you want to create or share your assignment;
- Go to Assignments;
- Click on Create and choose Assignment.
Here, you could already create an assignment and attach links, PDFs, Word Documents, and more. Now, you can also attach content created with other apps. Just go to the Instructions section and click Apps. Choose your favorite app, and a new screen within Teams will open. Depending on the app, you can now choose an existing activity from the app, or create a new one from scratch. Finally, don’t forget to attach your chosen activity to your assignment.
Here’s a brief look on how it works:
Adding a BookWidgets activity to an assignment in Teams
BookWidgets fanatics will love this new way of adding BookWidgets activities to assignments. Sure, you could already send a BookWidgets activity to your Teams before. But using Apps in Assignments, you can now attach multiple activities within the same assignment, and you can also immediately edit the new assignment from the start. This is useful if, for example, you want to share a rehearsal assignment with just a few students that need more practicing. Or, maybe a few students are allowed more time and can see another due date than the others. You can also choose to show this assignment in the students’ calendars, and much more. All of this makes it so much easier to tailor assignments to students’ needs.
If you’re already familiar with BookWidgets and Teams for Education, adding a BookWidgets activity as an assignment is swift and easy, and doesn’t need much more explaining than what you just read above. If you don’t know BookWidgets yet, stick around: I’ll give you a brief tour, and show you the complete flow for creating interactive widget activities, adding them to a Teams assignment, and reviewing your students’ work.
With BookWidgets, teachers can create interactive exercises and automatically graded assignments with over 30 different question types. BookWidgets also has a grading dashboard for teachers to give meaningful feedback and send back the results to the students, and follow their activity live. BookWidgets is completely integrated with Teams for Education, so teachers don’t even have to leave Teams to create, share and review BookWidgets activities.
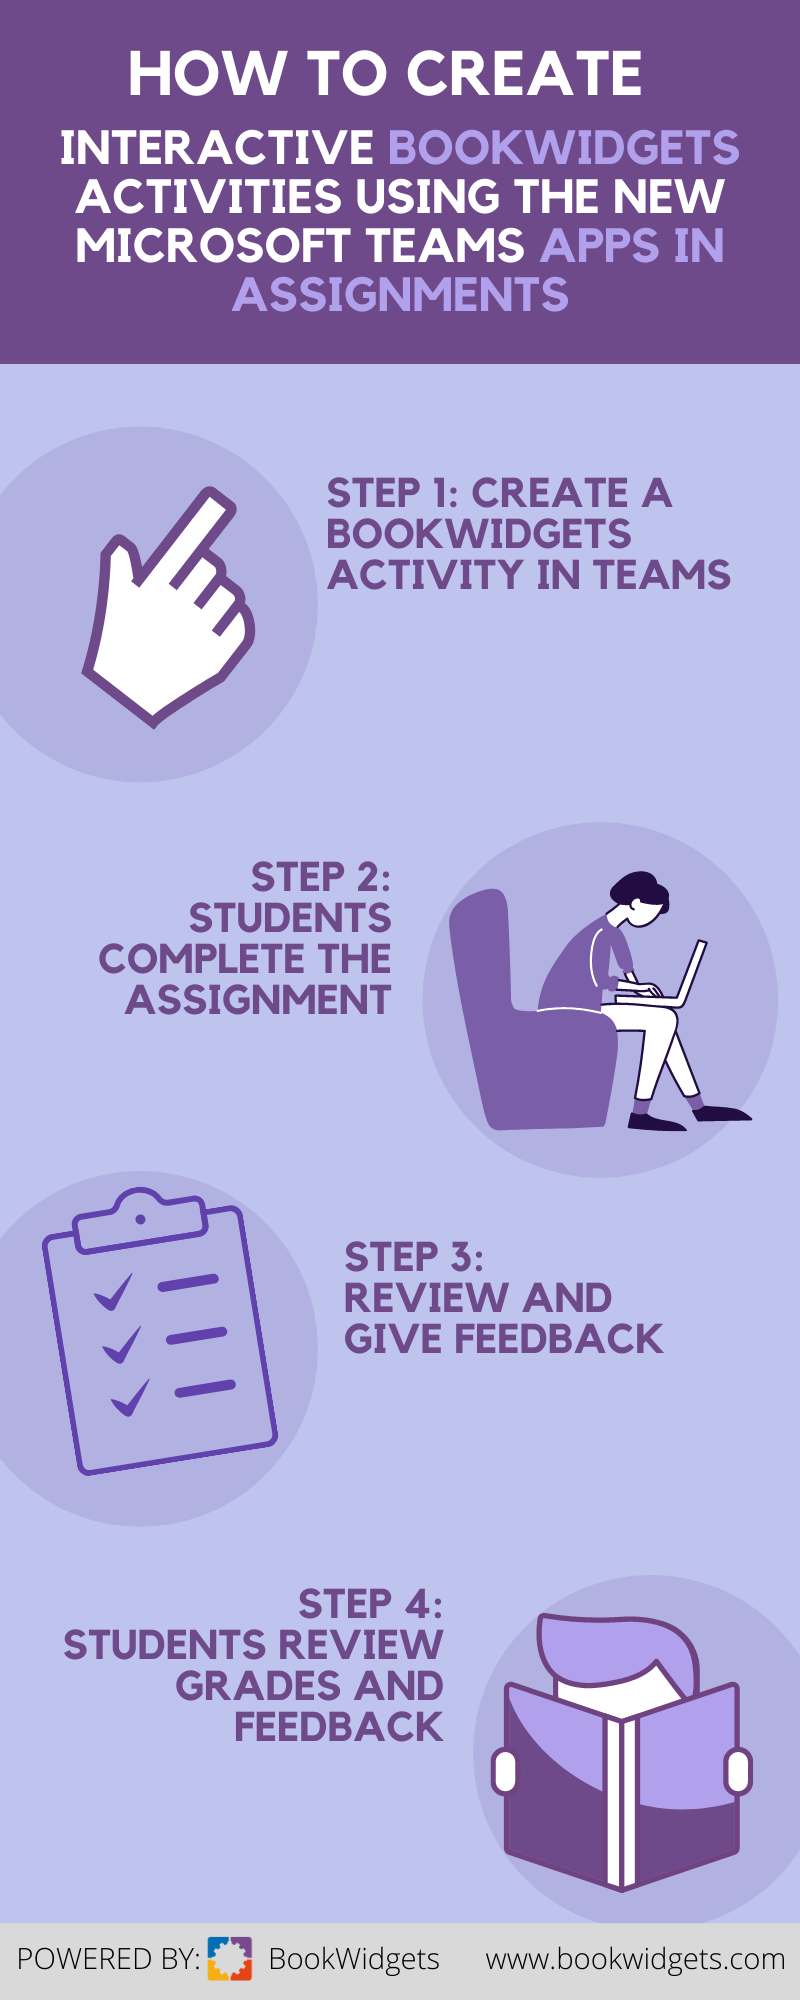
Just follow the following simple steps, and you’re on your way to create your own interactive activities in Teams.
Step 1: Create a BookWidgets activity in Teams
You already saw the first step above to create an assignment: Click on a Team > go to Assignments > Click on Create > choose Assignment > go to the Instructions part > click on Apps > choose BookWidgets.
If you can’t find BookWidgets in the app list yet, this means you still have to add it to the list first. This is easy: while still in the newly created assignment, click Apps > Manage apps > More apps; then search for BookWidgets, and add it to your Team.
After choosing BookWidgets from the app list, BookWidgets will open in a small pop up window within Teams.
Tip: You can enlarge the BookWidgets window by clicking on the ↗️- icon. A new screen will open, focusing solely on BookWidgets. Of course, you’re still working in Teams.
Now, you can do 2 things:
- Choose a BookWidgets activity from the list of widget activities you created in the past
- Create a new BookWidgets widget activity from scratch
After choosing or creating your widget, click Save at the bottom of the dialog to add the link to Teams.
If your widget is graded, you will first get a message:
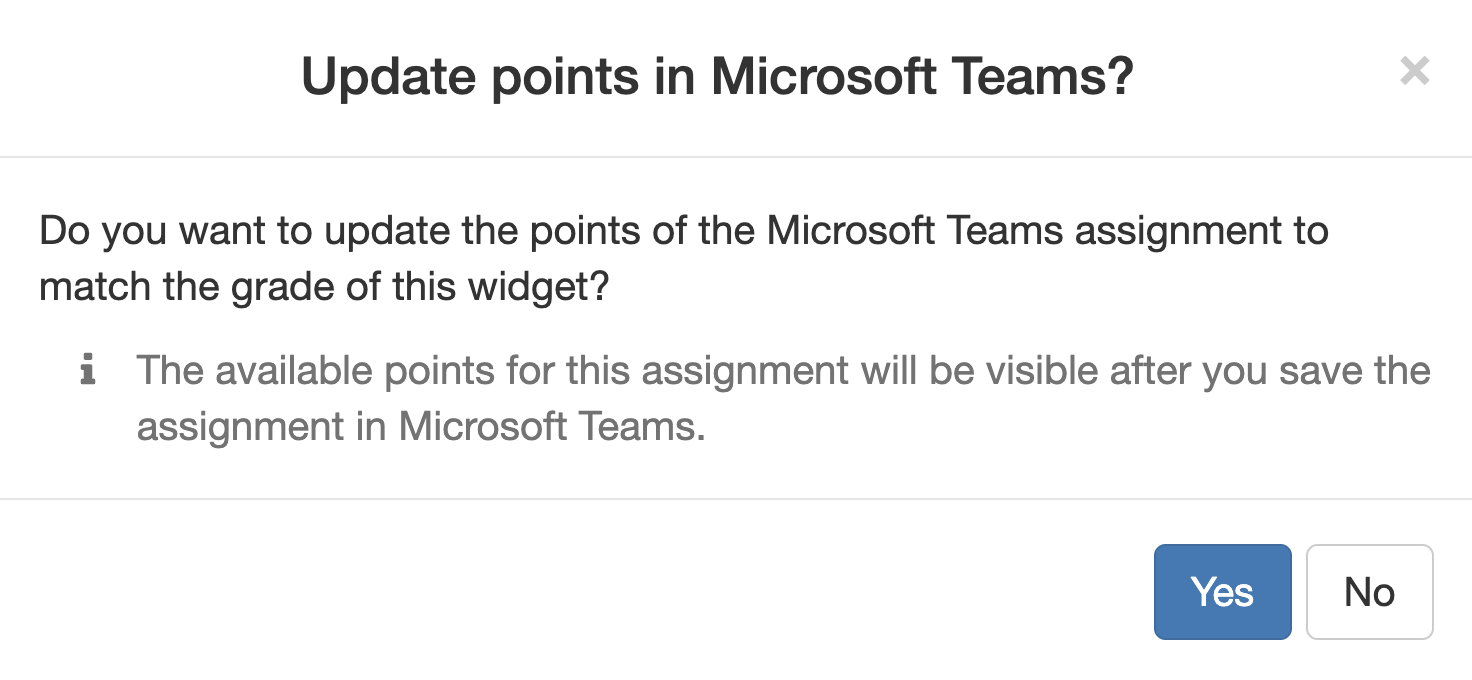
If this widget is the only activity that will be graded, you can save the grades so they will be updated automatically to the Teams grade book too.
After the link was added to your assignment, you can finish editing the other assignment settings or add other activities. Finally, Assign your assignment, and you’re done!
Step 2: Students complete the assignment
Now, where can students find your assignment and how do they complete it? This is pretty much the same place as where you put the assignment as a teacher: students go to the corresponding Team, then go to Assignments. Here, they can find all their due and completed assignments.
Students click on the assignment, read the instructions, and can see all the attached materials (including the BookWidgets activity). They click the activity link, have their identities verified, and get started completing the BookWidgets assignment.
When they’re done, they have to take these 2 important actions:
- Submit their widget work at the end of the widget by clicking Submit > Send inside the widget.
- Turn in their assignment within Teams when they are finished with the entire assignment
These two steps are both needed and very important so the teacher gets back all the results of all the attached assignments.
Step 3: Review and give feedback on BookWidgets assignments
When your students have submitted their answers, you can start reviewing all work from within Microsoft Teams:
- Go to Assignments in the right Team.
- Click on the assignment you want to grade.
- Click on the first student that handed in their work.
- Click on their work. This is a link. You’ll be directed to the BookWidgets grading dashboard.
- Review the work of the students. Here’s how you can review student work in BookWidgets.
- Wait a few seconds after grading student work so all the grades have been sent to Teams automatically.
- Finally, you only have to return the graded work and feedback within Teams.
If you now check out the Teams grade book now, you’ll see that the updated points appear automatically. Pretty neat, right?
Finally, let’s see where your students can find their grades, the correction, and your feedback.
Step 4: Students review grades and feedback
Your students already found your BookWidgets assignment in the assignments tab of their Team. That’s also the place where they can now find their feedback, correction, and grades.
So, in short: Students select the correct Team > go to Assignments > click on the completed assignment. They will find the widget activity link - so they can make it again if necessary - and just below that, they can also find their submission with the teacher’s feedback and correction.
Wrap up
And with that, the loop is now closed! You now know how to create, share, review and return BookWidgets activities with the new Apps in Assignments feature. We hope this post gave you insights on the new Teams for Education feature, and the extra value it will bring to your classroom.
Let us know how you like the new “Apps in assignments” feature! Join the conversation: @ibookwidgets @MicrosoftEDU