Adding widgets to TES Teach with Blendspace
 Niels Vanspauwen —
These days, the ability to pull together your own learning content, free online resources as well as commercial content and blend it into one comprehensive lesson has become an essential skill for modern teaching.
A great tool to do this is TES Teach with Blendspace. This free online platform makes it easy to plan, build, and deliver a lesson by integrating content from YouTube, TES resources, your own files, and other digital media somewhere on the internet. Just drag and drop the material on the TES teach dashboard.
And of course, BookWidgets fits right in here as well. In this post, I’ll show you the basics of TES Teach with Blendspace and how you can make things fun and interactive by adding widgets to your lessons.
Step 1: opening the lesson creation tool
TES Teach is available on the web, and they also provide a free iPad app. I’ll be showing how things work with the web tool, but it’s very similar with the iPad app.
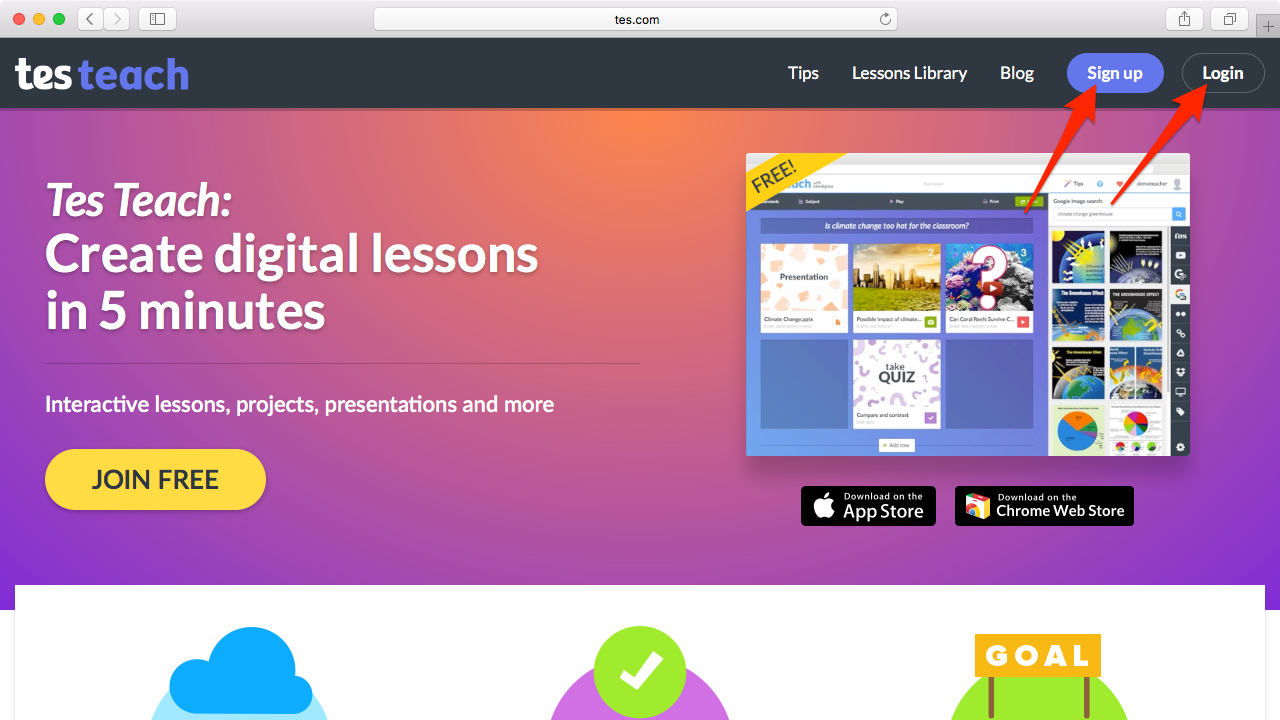
To begin, head on over to the TES Teach homepage and either sign up or log in with the buttons in the top right corner.
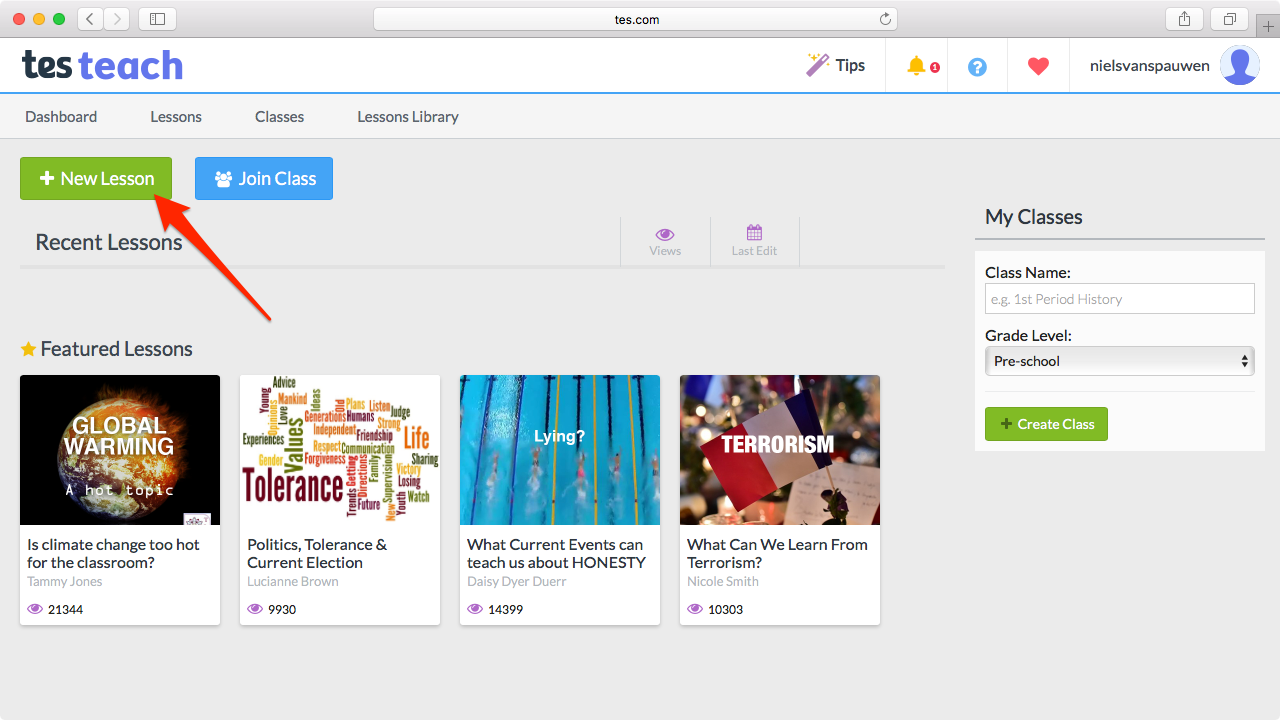
Once you’re in, create a new lesson by clicking the green button in the top left:
Step 2: fill tiles with content
A TES Teach lesson is basically a collection of tiles. On each tile, you can put a different piece of content. Integrated search engines let you search through existing content from TES Resources, Google Images, YouTube and so on.
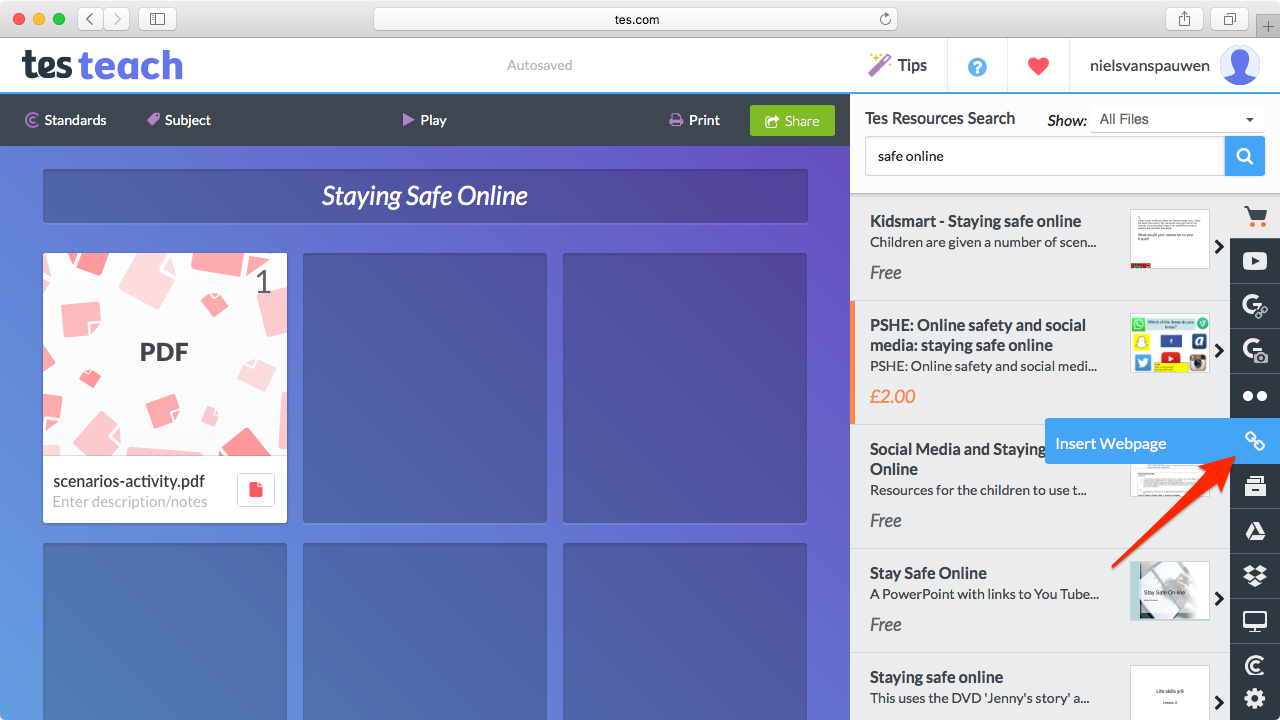
You can also easily add your own existing content, for instance a PowerPoint presentation or a PDF file. Let’s see how this works by putting together a short lesson on “Staying Safe Online”. I’ve already added a PDF file I found on TES Resources, and now I’d like students to create a mind map around the topic, taking note of the most important points discussed with the group.
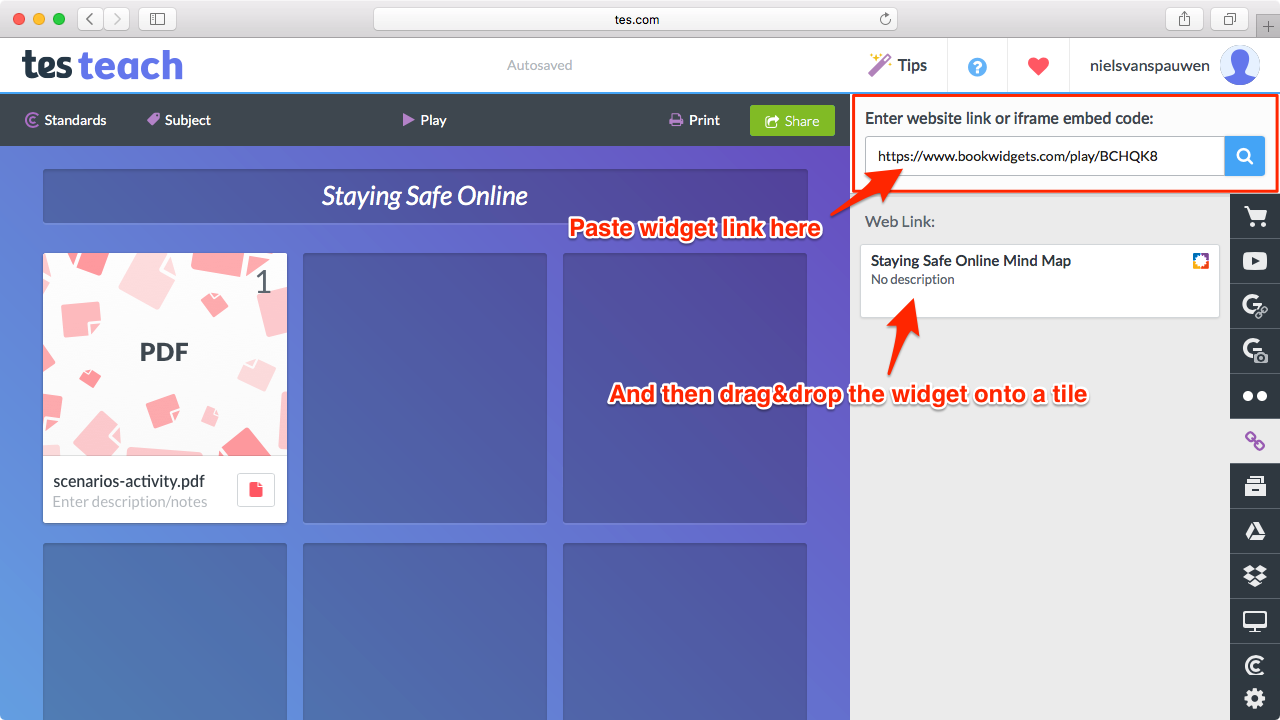
To add widgets, click the Insert Webpage button:
and then simply copy and paste the widget’s shareable link, and drag&drop the widget onto a tile:
Step 3: share with students
After adding a couple more tiles (I added a YouTube video, an infographic and a BookWidgets Quiz), it’s time to share the lesson with your students. Click on the green Share button to bring up the share dialog:
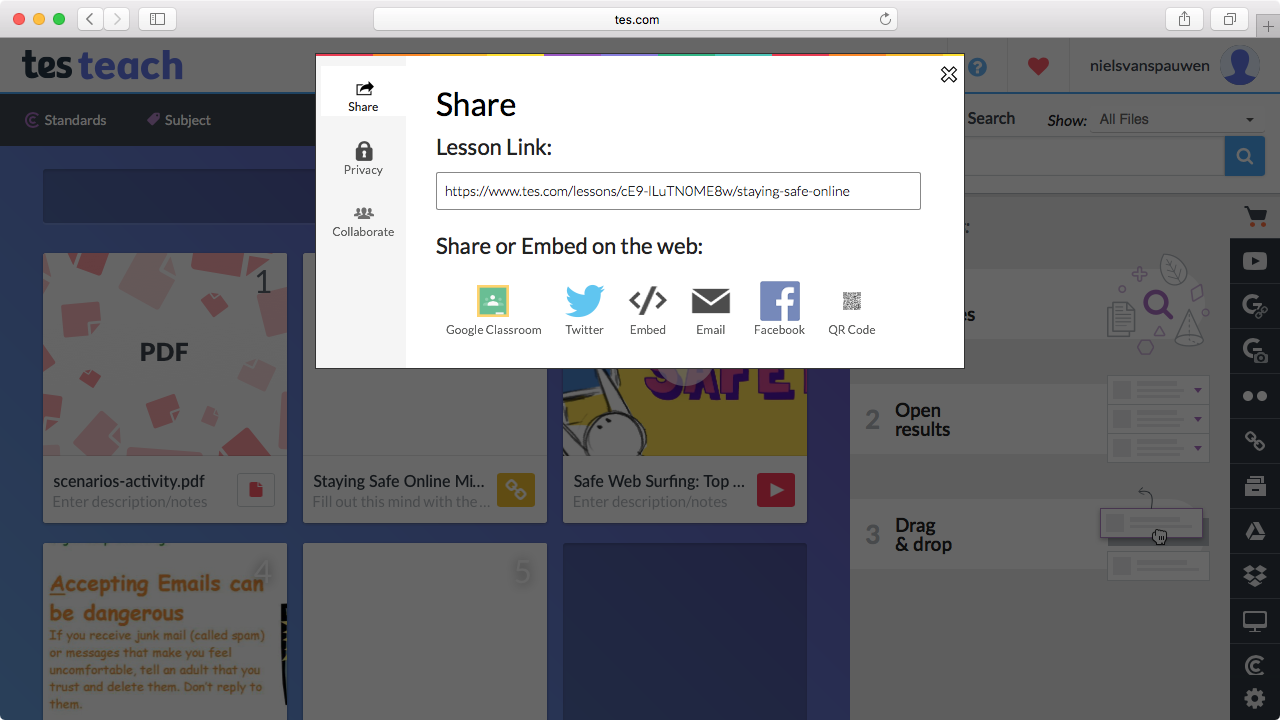
Google Classroom, QR and embed codes, it’s all right there. Of course, you can also share the link with students in any other way you like. Check out the completed lesson.
Try out the BookWidgets/TES Teach combo for free
TES Teach is a free resource offered by TES. We provide a 30 day free trial of BookWidgets so you can experience for yourself just how powerful this combo is:

