5 Things I learned from visiting an elementary school teaching with iPads
 Lucie Renard —
I recently visited Mozaïek elementary school in Bruges (Belgium), and was blown away by what I saw there. This primary school has a one-on-one iPad program, where each student has access to an iPad. To show teachers from other schools how iPads are part of this school’s DNA, they organized a so-called ‘Appy Day’. Because for most of you, Belgium probably isn’t next door, I’ll talk a bit about what I saw there, and share with you some of the inspiring ways they use iPads and everything that comes with it here, so you can get started with these ideas as well.
Here are 5 things I learned from my visit. And make sure to read all the case studies, those are my favourite parts of this blog post!
P.S. I mention all the (ADE) teachers or “brains” behind these ideas at the end of this post. Make sure to give them a follow on Twitter if you want to get inspired even more.
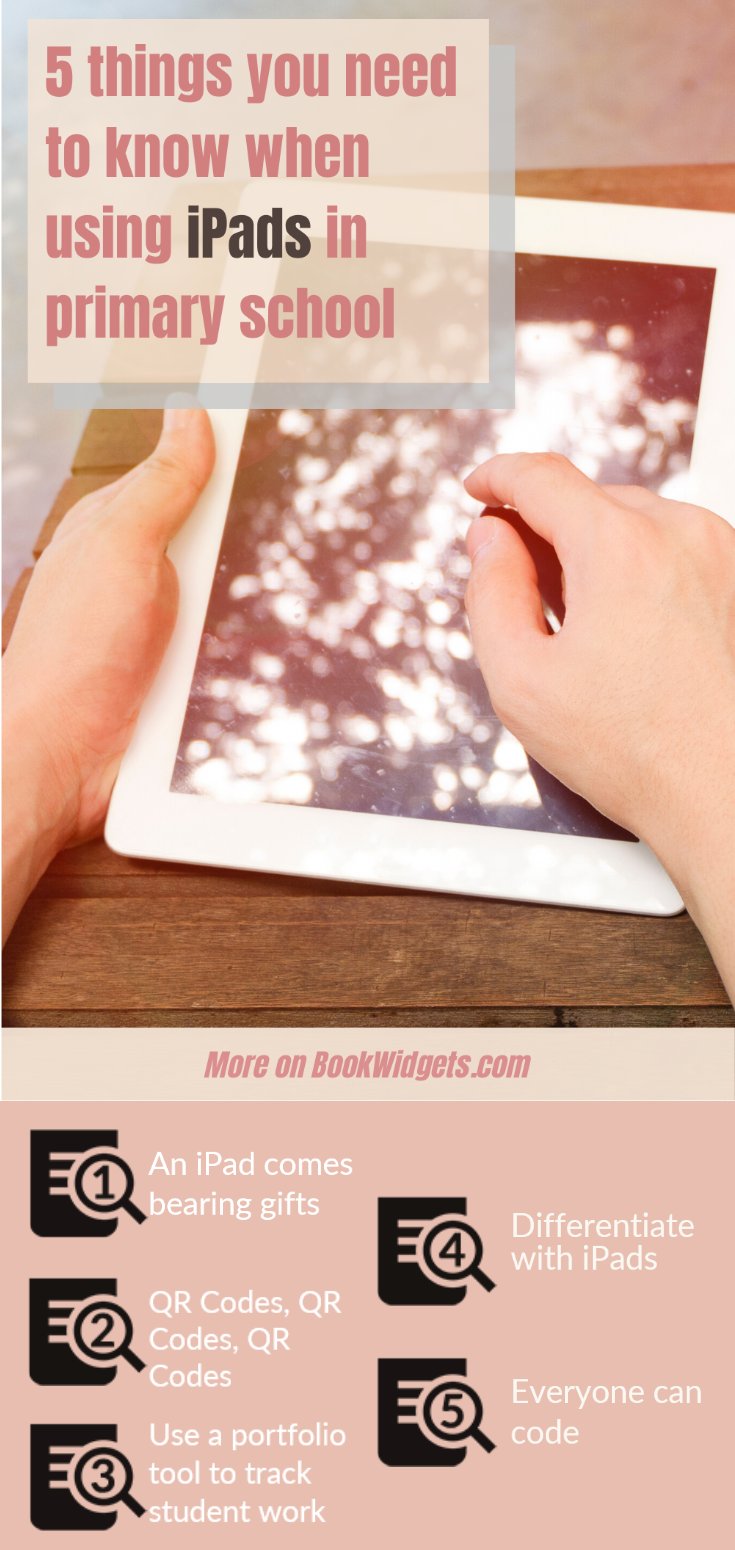
1. An iPad comes bearing gifts
The first and, for me, most important lesson is this: an iPad never comes alone. An iPad comes with an App Store, and an App Store comes with a huge range of educational (free) apps.
Think about Keynote, Code apps, AR apps, the camera, the photo editing tool, Educational game apps, audio recording apps and so much more. Check out Apple’s Everyone Can Create resources, and you’ll see that an iPad is so much more than a glass book. Learn what you can do with photos, video, music, and drawing.
 Case study
When we barged in on a lesson, students were creating an image in Keynote. Starting from an example, by combining geometric shapes, students made some artwork they never thought they could. They learn how you can combine shapes and figures and how they relate to a bigger whole. In the end, you couldn’t see that their images were just layers and layers of shapes put together.
2. QR Codes, QR Codes, QR Codes
The easiest way to share something with your students is by letting them scan a QR Code with the iPad. As it happens, they just have to open the camera app and point the iPad in the direction of the QR Code. A webpage pop-up appears, and students can go straight to the right assignment or exercise. It doesn’t get easier.
 Case study
This school uses QR Codes for everything. There are many apps you can use to create a QR Code. In this case, they use the website QR Code Monkey. Why this one?
Exercises and assignments mostly come in different themes, such as writing, reading, speaking, geometry, numbers, … This QR Code website makes it possible to add a little icon in the middle of the QR Code. The icon serves as a recognition point for the students and teachers, telling them what kind of exercise or assignment is behind it. You can also choose different colors for the QR Codes.
Every corner in the classroom has a purpose. When students have finished an assignment, they can go to a specific corner or spot, scan the QR Code (with a specific icon) and start reading or repeating a lesson.
3. Use a portfolio tool to track student work
The teachers in this school were looking for a way to grade and showcase student work. When students finished an assignment, how can teachers review it and comment on it? Well, they found the ideal app to do so: SeeSaw.
SeeSaw is a portfolio app (and so much more) for elementary school. Even 5-year-old toddlers upload their work in Seesaw. It’s convenient and easy to use, and students don’t need logins or passwords. Use SeeSaw:
- To assign student work
- To review uploaded student work
- As a social portfolio where students can comment on each other’s work
- As a private student portfolio
- To engage parents with their children and school work
- To chatting with students
- To grade work
 Case study
As I mentioned, even the toddlers in this school work with SeeSaw. They get a small chart with the instructions on how to upload work in Seesaw. For example, they have to make at least 3 puzzles, and when they are finished, they take a picture of their completed puzzles and upload it to SeeSaw. The teacher can now see what kind of puzzles they made, and what students didn’t make the puzzles yet. If you want to take this even further, you invite the parents to the student’s work. Parents can now see what they are doing in school and comment on their child’s work.
Of course, all the grades in the elementary school work this way. Students read an assignment, make it, and upload their work in Seesaw. This is often just by taking pictures, but there are more possibilities as well. SeeSaw also teaches them to learn to communicate in a social environment on the internet. The teacher can still approve or deny all comments.
4. Differentiate with iPads
One of the things this school did very well was differentiating. It’s not easy to give attention to every single student, to give students who accelerate extra challenges, and to give students that need more instructions the extra help. After all, there are 20 students, but just one teacher. Let me show you how this school handles things using iPads to accommodate learning.
 Case study
Differentiation comes in 4 stages:
Stage 0: Broad basic care
First of all, you give all your students broad basic care. Here, the teacher uses the iPads as a tool to motivate and activate all students regardless of the way they learn or what their special needs or interests are. An iPad can stimulate every student and make them learn.
In this classroom, students have free access to the iPads, and they have to take care of them. There are many planned lessons and activities, but they can always choose to use iPads as well. This means using the dictionary function, use it to create a report (for example in Book Creator), use it as a help for any other assignment or task. Of course, they can also choose to do these things on paper.
On top of that, there are many fixed activities in the classroom that students can access by scanning QR Codes. Take a reading activity, for example (in this case an escape book, number, and word of the week, and so on). Here, every student gets stimulated to use an iPad and to independently support their learning process.
The school makes use of Apple TV, which makes it easy to stream student work and teacher instructions directly to the classroom screen from an iPad. It’s also a huge asset to start a classroom chat about student work, so everyone gets immediate feedback.
Stage 1: Increased care
In this stage, you help students that get stuck on assignments and need more instructions. Some students need to experience things in order to understand it and others need to be able to visualize it. In most cases, students need more time and support to master something. Sometimes, they need to be challenged more. The iPad can help with that.
In this classroom, the teacher provides learning material that enriches a student. Students scan a QR code an make an exercise that challenges them more, or they get videos of lesson material that explain things again and more visually. Depending on the class group and the concerns, the school chooses either for differentiation groups, or for inside class differentiation. In the struggling group or mini-class, they work very concretely and visually. The iPad is often used to provide extended instruction. This can be done via an extra assignment, an instruction video, and so on.
Stage 2: Expansion of care
How can you support students that are stuck in their learning process due to learning difficulties? And how can an iPad help? Think about students with dyslexia, dysgraphia, dyscalculia and so on. Also, think about speakers of other languages or ESL students.
For students with reading problems, this school provides most or their hand-outs in PDF format. This means students can use free reading software (ClaroPDF) on their iPad and understand what the assignment is about. Of course, it also teaches them to increase their reading skills.
For students that originally speak another language, they build an image-dictionary in iBooks Author or BookCreator. Students record the new words they learn that go with the images. At the end of the year, they’ve made their own dictionary!
Stage 3: Individually adapted curriculum
How can an iPad support students with a learning disadvantage for one or more courses? These students follow an adapted curriculum. Sometimes students can have a learning disadvantage of 1 to 2 years on a certain subject (e.g. reading, speaking)
In this case, the teacher and the care coordinator make an adapted lesson timetable for these students. The students also have a separate class folder in SeeSaw with separate assignments and challenges. The students can access their own SeeSaw Classroom by scanning the specific QR Code on their classroom bench. This is also the place where they can find the adjusted timetable.
These students also have their own iPad. The teachers download the right apps for these students, as every student following an adapted curriculum will need other apps. The apps get sorted into groups like languages, spelling, fractions, etc.
5. Everyone can code
For the first time, I was the pilot of a drone. If you think steering a drone is easy, you’re wrong. I didn’t just fly it by a remote controller, I coded it to fly on my commands.
This is something students of any age can learn by using an iPad. Besides the “Everyone Can Create” teacher guides, Apple published some teacher guides on coding as well, called “Everyone Can Code”.
 Case study
Besides visiting classrooms, I also followed some inspirational sessions in which I learned some new things. If you think about teaching your students to code, use the resources mentioned above. They come with amazing lesson ideas and free apps.
To take coding to the next level, use a Sphero, a Dash bot, or even a drone. Connect the bots with the iPad apps mentioned below, and let your students fly or “ride” a circuit. To be able to follow the path, they have to use the app to give the right commands by using code language. It’s so much fun and it teaches your students to think logically and algorithmic.
If your school doesn’t have the budget for drones or bots, just use the available apps: Tynker, Swift Playgrounds, Code Spark Academy, and so on.
 Case study
Did you know, you can even code by using Keynote? Let students create an app in Keynote, and link to the right pages when clicking on the buttons or “shapes” in the Keynote. Pretty amazing right?! Students learn to think in advance, and they are using their creativity to give the app and the buttons a nice layout using the Keynote app.
Wrap up & shoutout
I hope this post inspired you to use the iPads in your classroom to the fullest, and get everything out of them. I know I did! So what about you? How are you going to use this new inspiration?
Thanks, Joost Dendooven, for organizing APPYDAY @ Mozaïek primary school. Thanks, Sofie Staelens, Nele Tilleman, Ann Jacobs, Philippe Everaerts and Siska Schrooten for inspiring me and now, hopefully, many other teachers on this planet. 💪